Solutions
Solutions
Solutions
Platform Overview
Trade Promotions
B2B eCommerce
Route Accounting / DSD
Sales RepMobile Order Taking
Inside Sales & Support
Retail Execution
Mobile CRM
Platform
Enterprise-Grade platform
Integrations
Integration Platform as a Service (IPaaS)
Plugin Directory
Third Party Apps
Developer Center
Roles
Sales
Information Technology
Field Merchandising
Sales Rep App
Industries
Industries
Food & Beverage
FMCG
Health & Beauty
Eyewear & Optical
Jewelry & Watches
Outdoor & Sporting Goods
Home & Gift
Fashion & Accessories
Customers
Company
Company
About Pepperi
Why Pepperi?
Partners
.
Resources
Resources
Blog
Podcasts
Videos
Knowledge Center
Features
Pricing
Contact Support
Login
Let's Talk
en
Language
English
Español
Français
Deutsch
עברית
Pepperi Blog
Blog
April 17, 2024
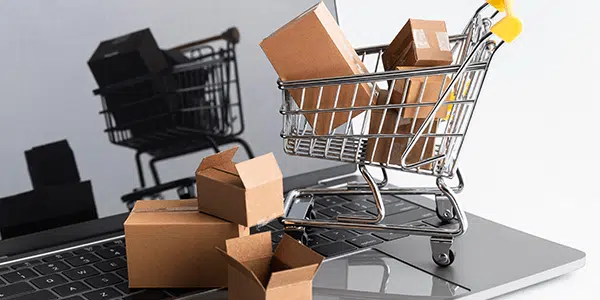
10 Essential Features to Look for in B2B eCommerce Software
Contact Sales
Request a Demo
Go to pricing page
Sign up to our newsletter
February 14, 2024
Is Your B2B Commerce Solution Global? Optimizing for Global Markets
January 15, 2024
Say hello to Pepperi’s Message Center!
December 11, 2023
Pepperi B2B eCommerce vs BigCommerce B2B Competitive Analysis
December 6, 2023
Maximizing B2B Retail Success: Key Strategies for Growth
November 7, 2023
Influence Marketing for FMCG: Best Practices & Strategies
October 25, 2023
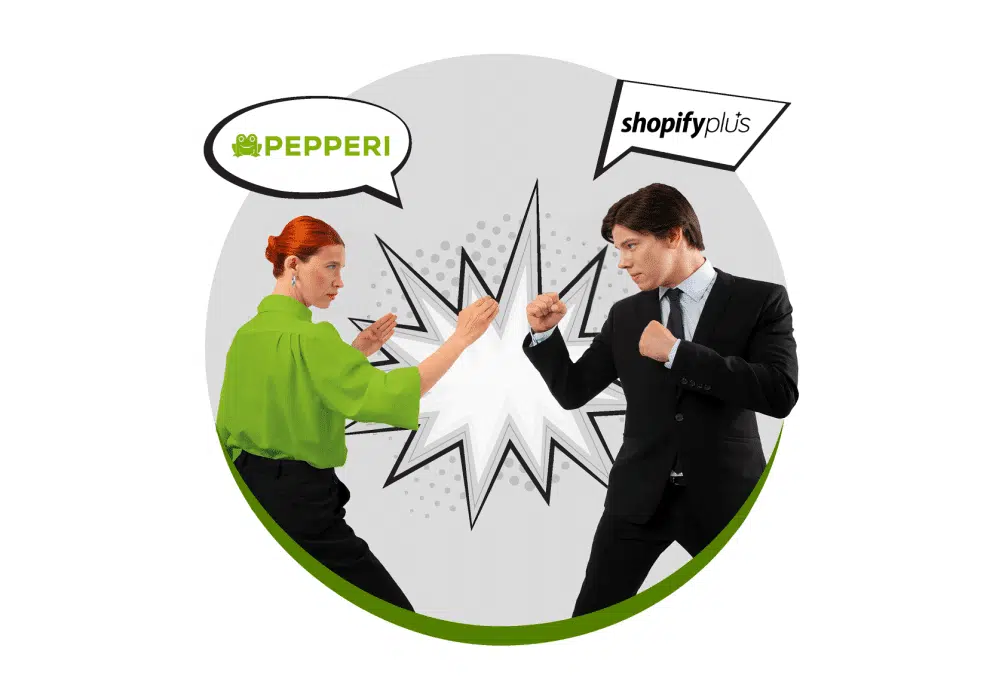
A Competitive Analysis Pepperi B2B eCommerce vs Shopify Plus B2B
August 17, 2023
Winning the Shelf: How Retail Execution Software Can Help You Succeed
July 12, 2023
Exploring the Complexities of AI in FMCG Distribution
July 2, 2023
Empowering Sales Reps for True Independence!
May 31, 2023
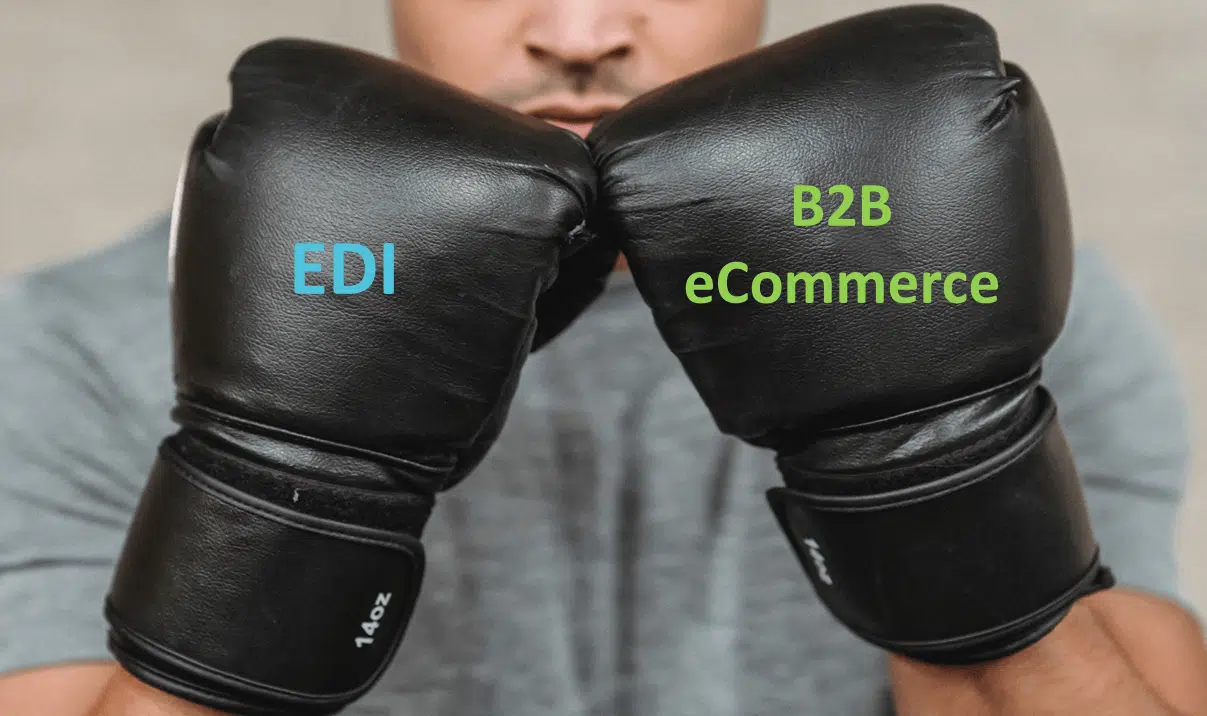
Why Distributors are Shifting Retailers from EDI to B2B eCommerce
May 15, 2023
Mitigating Supply Chain Disruptions with Pepperi
April 24, 2023
Returns Made Simple: The Configurable Workflow Driving B2B e-Commerce Success
March 22, 2023
What’s the Difference Between EDI and B2B eCommerce?
February 28, 2023
Why Unified B2B Commerce is Hard to Achieve in the FMCG Industry
February 14, 2023
M&A in Specialty Food Distribution is Heating Up
January 31, 2023
What is Unified Commerce? Why It Has Taken Over B2B
January 25, 2023
Best eCommerce Software 2023: Top Solutions for Business Growth
October 3, 2022
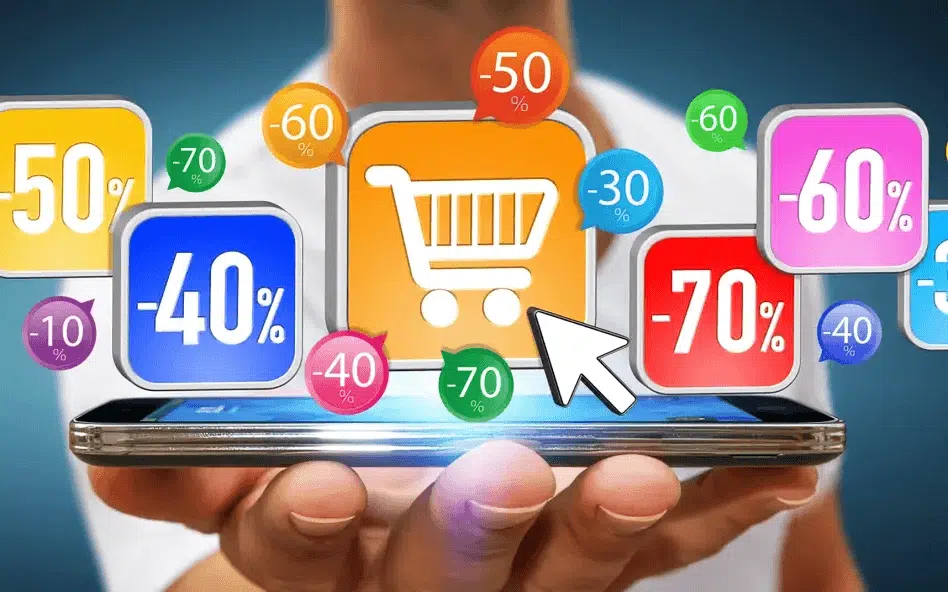
B2B Trade Promotions over Black Friday & Cyber Monday
September 15, 2022
7 Ways Eyewear Brands Can Improve Sales Operations Productivity
September 5, 2022
5 Reasons CPG Wholesalers Favor Native Mobile Apps
August 16, 2022
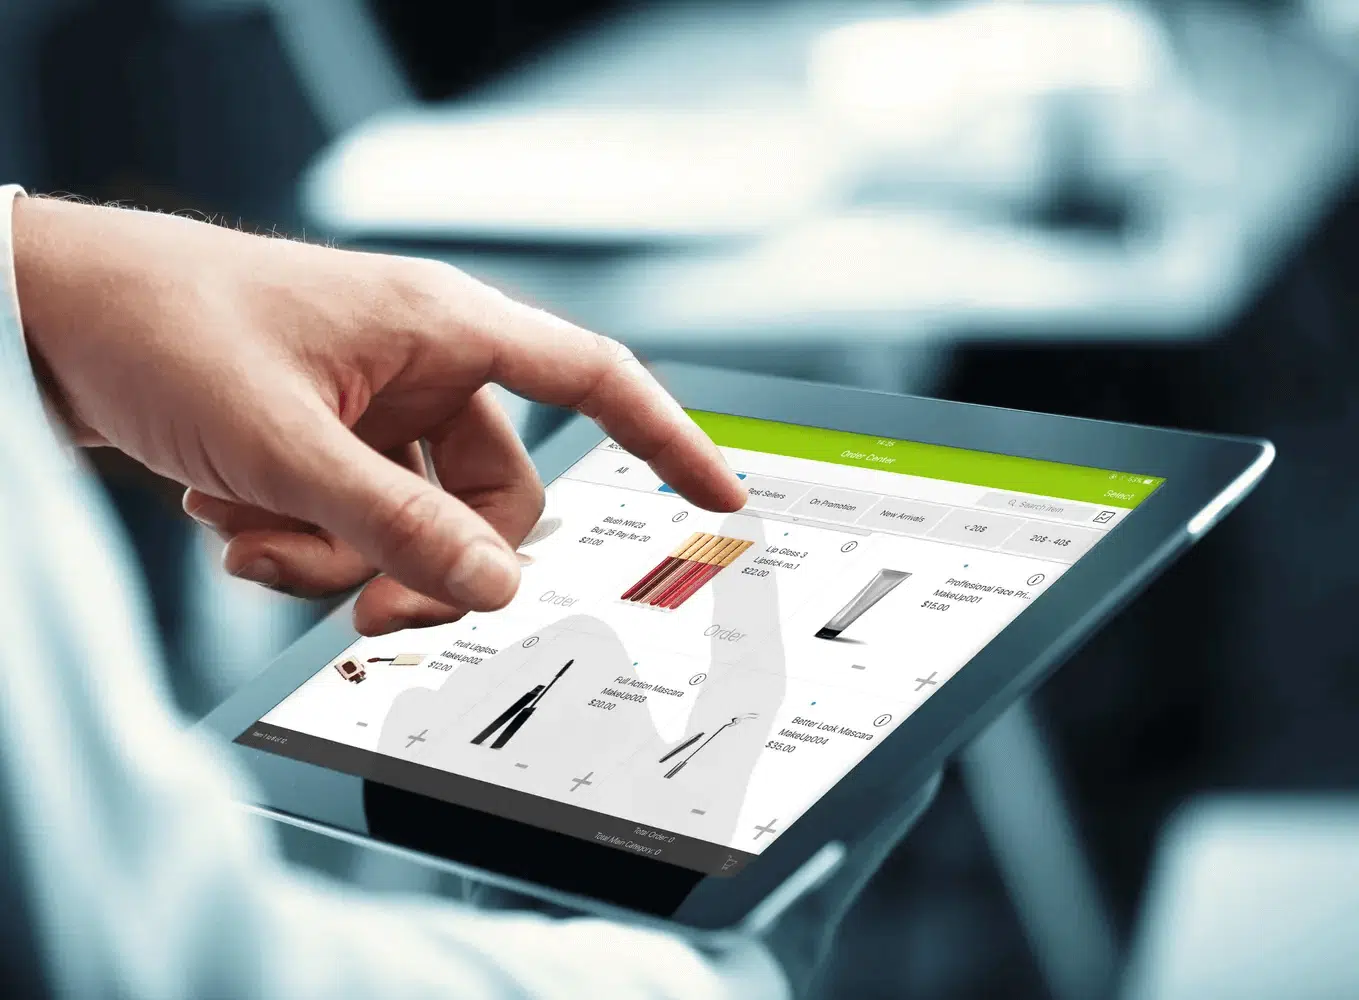
Everything You Need to Know about B2B eCommerce
August 11, 2022
Success Tips for Food & Beverage Wholesale Distribution: Expert Advice
July 22, 2022
Scaling Your CPG B2B Business with Workflow Automation
July 7, 2022
What’s Preventing B2B from Fully Embracing eCommerce?
June 2, 2022
What is eCommerce doing to the Sales Rep’s job?
May 20, 2022
The Rise of Self-Distribution
April 13, 2022
End of the Road for Sales Reps?
March 21, 2022
Empowering Beauty Sales Reps: Strategies for Success
February 15, 2022
Direct Store Delivery (DSD) Best Practices
February 14, 2022
Unlock Dropshipping for Offline Retailers
February 9, 2022
Top 7 B2B Sales Mistakes to Avoid
January 31, 2022
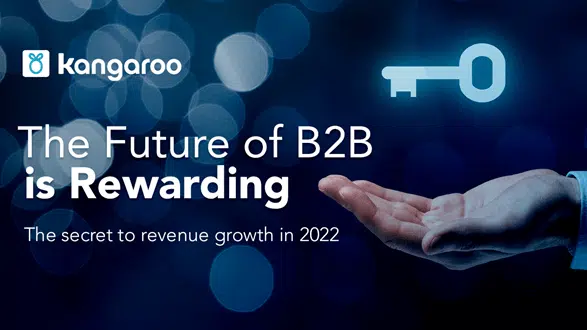
The Future of B2B is Rewarding
January 10, 2022
Chex’s Partners Accelerate Sales with Pepperi B2B Commerce
December 17, 2021
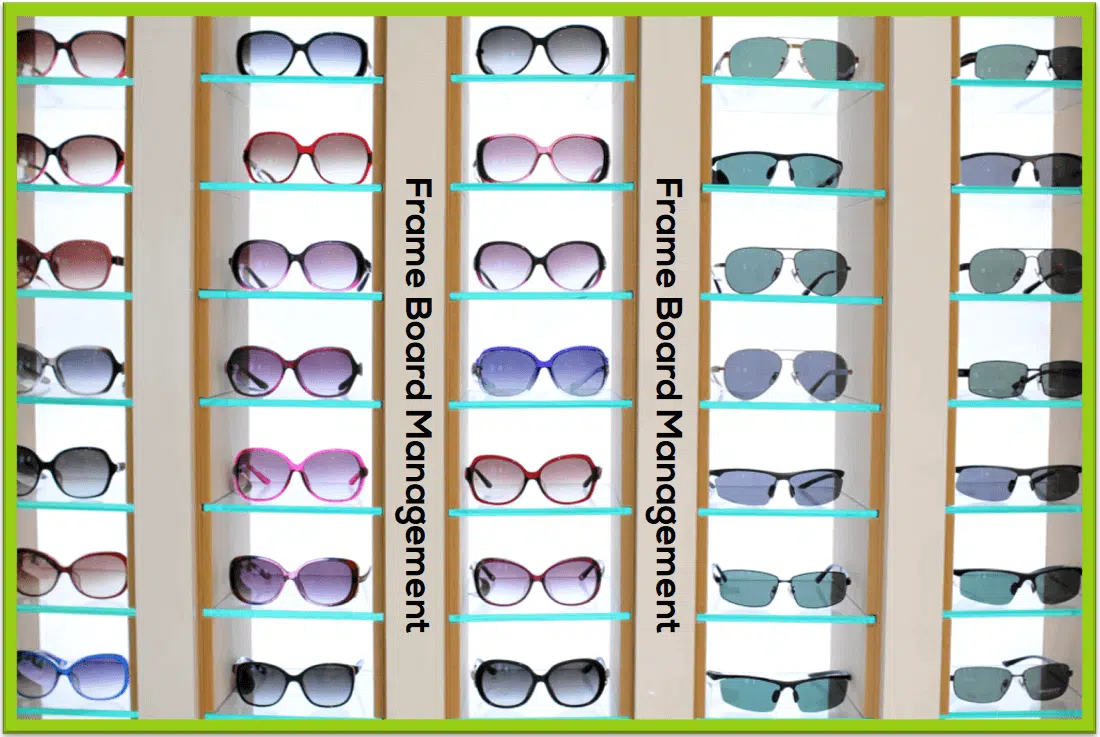
Frame Board Management Software – Killer App for Eyewear B2B Sales
December 13, 2021
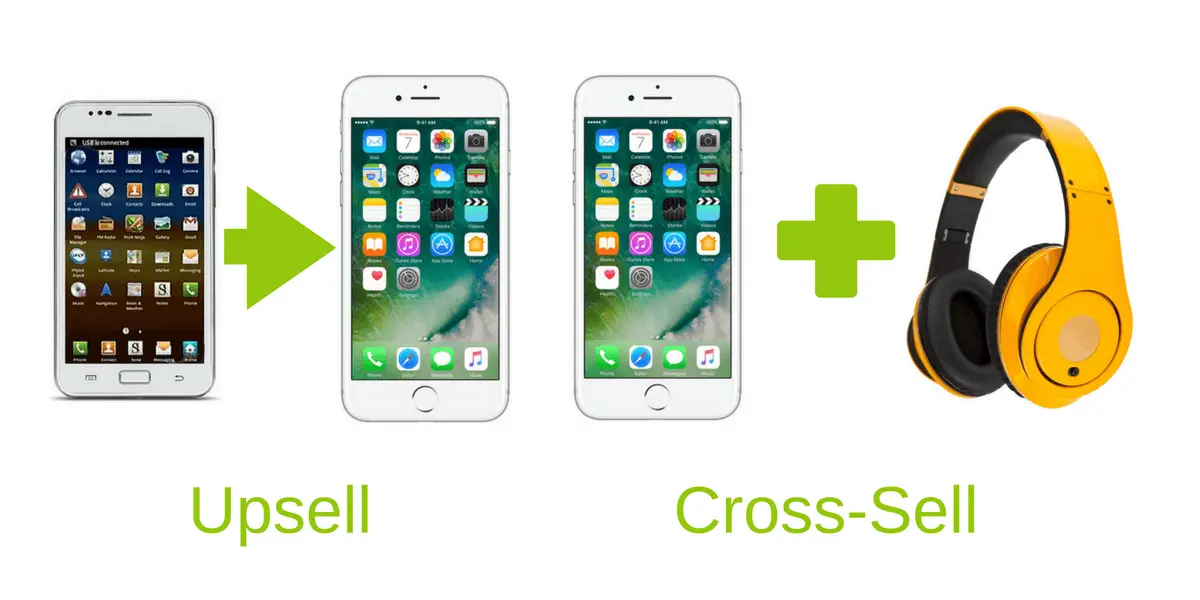
15 Proven Cross-Selling and Upselling Tactics that Increase Order Size
December 8, 2021
2021 FMCG B2B eCommerce Benchmarking Report
November 3, 2021
Why Pitching Wholesale Buyers Fails in Q4
October 26, 2021
Is Direct Store Delivery Dead?
September 28, 2021
How Angel Eyes Eliminated Order Errors & Increased Sales
September 23, 2021
What are B2B Trade Promotions? | Pepperi
August 18, 2021
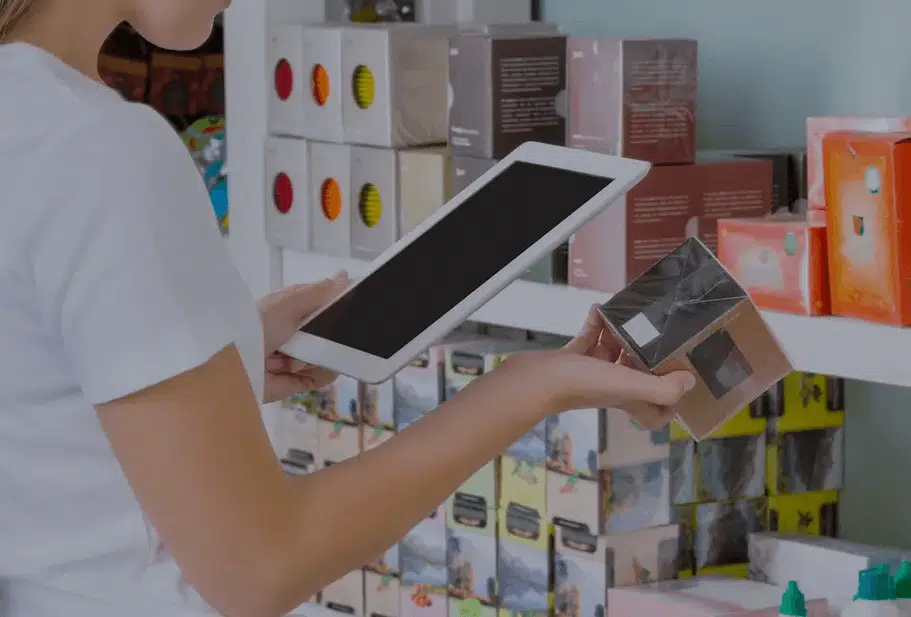
How to Increase Sales with an iPad or Tablet
August 17, 2021
Competing with B2B Marketplaces: Tips for CPG Brands & Wholesalers
August 10, 2021
How to Plan your Business Exit Strategy in F&B
August 4, 2021
What You Need to Ask When Choosing a B2B eCommerce Platform
July 14, 2021
Why FMCG Brands Fail with ‘Direct-to-Consumer’
July 7, 2021
Case Study: Design Group Australia Greets New Card Sales with Pepperi
June 26, 2021
Case Study: Dermalogica Unifies its B2B Sales and Service with Pepperi
June 18, 2021
Marchon Eyewear’s Digital Transformation: Case Study
June 15, 2021
Why Magento 2/Adobe Commerce Doesn’t Solve the B2B eCommerce Merchant Dilemma
June 14, 2021
What’s the difference between SFA and CRM?
June 7, 2021
5 B2B Trade Promotion Best Practices
June 4, 2021
Why B2B Wholesale Distributors Prefer Native Mobile Apps over Desktop
May 25, 2021
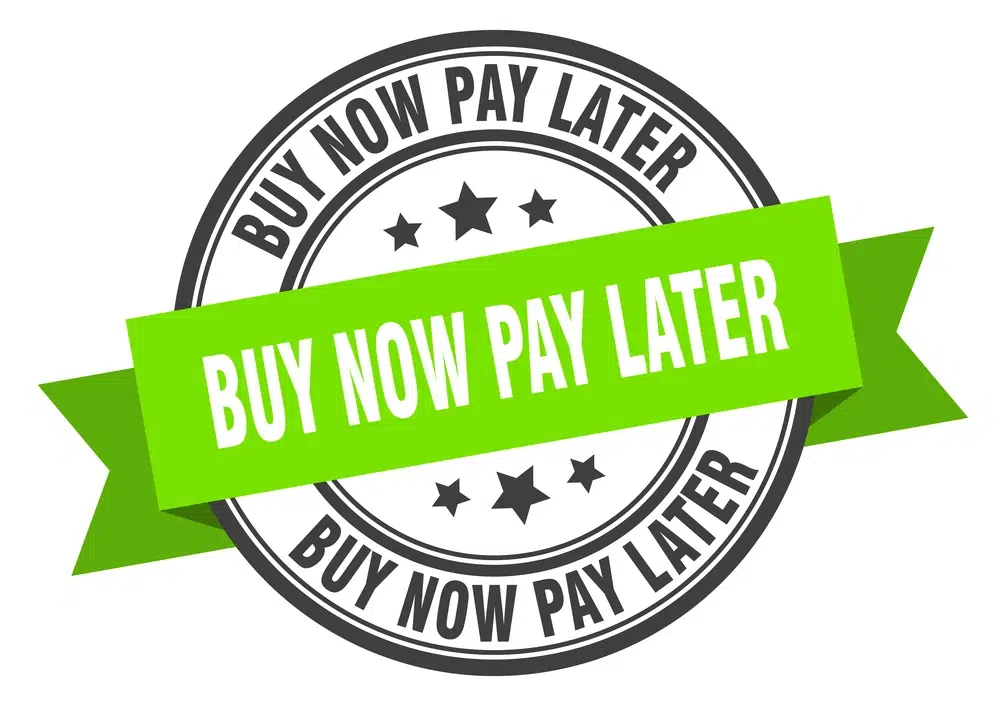
“Buy Now, Pay Later” is Making Inroads into the B2B Ecommerce Space
May 11, 2021
Recapturing Missed Opportunities in B2B Wholesale Distribution – Part 2
April 28, 2021
Recapturing Missed Opportunities in B2B Wholesale Distribution – Part 1
April 28, 2021
Chex Finer Foods Chooses Pepperi for B2B Sales
April 26, 2021
Wolfchester Australia Migrates from Handshake to Pepperi
April 25, 2021
Pull vs. Push B2B Marketing
April 16, 2021
Cure the pain points of B2B delivery with DSD software
March 31, 2021
Will Direct-to-Consumer Put Tier 2 Wine Wholesalers at Risk?
March 18, 2021
Largest Alcohol Distributor in Israel Goes Online with Pepperi
March 10, 2021
Is it Worth Serving Rural Retailers in the Era of Digital Divide?
March 3, 2021
Is Amazon a Threat to CPG Brands & Distributors?
February 14, 2021
Wholesale eCommerce Platforms: 6 Business Objectives to Consider
January 20, 2021
Kimberly-Clark Reduces Sales Rep Visits by 10%, Increases Orders by 10%
July 11, 2020
6 Tips & Techniques for a Successful B2B Sales Strategy
March 9, 2020
Frederique Constant Grows Sales by 10% with Pepperi
February 26, 2020
B2B E-Commerce: The Bullet Train for Today’s Wholesale Distributors
February 2, 2020
3 Affordable Approaches to Motivating Sales Reps: Boost Performance
February 1, 2020
What is B2B Software and Why Brands & Wholesalers Should Care
January 14, 2020
Watch Industry Sales Operations: 4 Trends
January 10, 2020
The best B2B sales blogs to follow in 2020
January 3, 2020
Top 3 Reasons to Invest in Sales Automation Software for Reps
November 28, 2019
What is headless commerce and what are the benefits?
September 15, 2019
10 B2B eCommerce Trends
July 8, 2019
9 KPIs FMCG Suppliers Should Track to Improve Van Sales Performance
June 6, 2019
Empower your sales reps to work smarter with field sales software
June 2, 2019
Giesswein’s 45% Sales Growth: A B2B eCommerce Success Story
May 29, 2019
How to Prevent Stockouts with Retail Execution Software
April 30, 2019
3 reasons field sales software and wholesale eCommerce go hand-in-hand
March 26, 2019
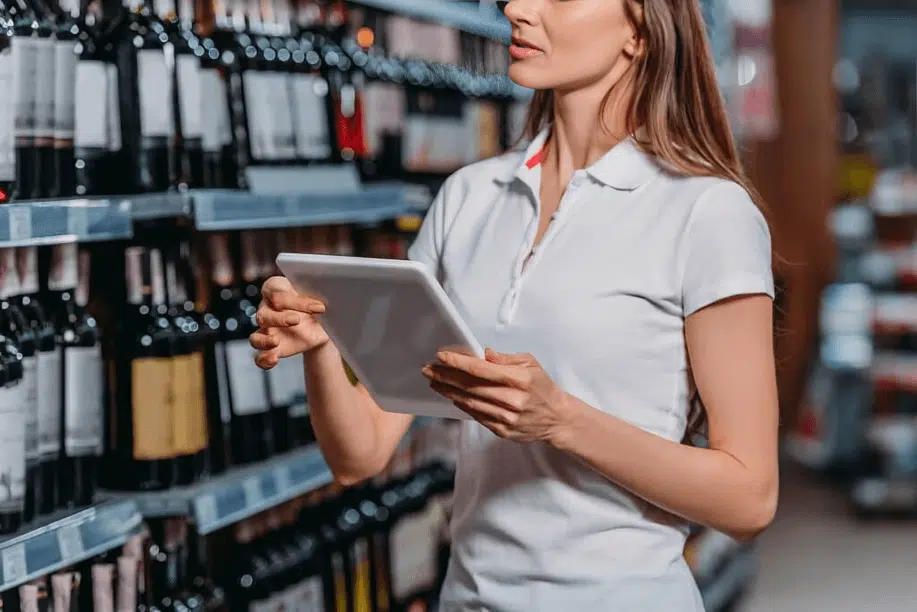
Perfect Retail Execution: Using Retail Audit Software
March 4, 2019
5 Ways Direct Store delivery Can Overcome FMCG Industry Challenges
January 28, 2019
Mobile CRM for CPG: The Ultimate Guide
January 16, 2019
4 key trends in beauty B2B sales operations
December 30, 2018
5 Direct store delivery best-practices for FMCG brands and wholesalers
December 25, 2018
5 Reasons why wholesale ordering software is vital for HORECA
October 23, 2018
Ways you can leverage your B2B eCommerce platform to retain customers
September 7, 2018
Top 3 2 B2B CPG Sales Trends
August 25, 2018
Van Sales Software: The Backbone of Today’s Direct Store Delivery
July 27, 2018
5 Best Practices for B2B eCommerce Adoption
July 25, 2018
7 Strategies to Improve Relationships for Wholesalers & Distributors
May 3, 2018
5 surefire ways to increase B2B sales with a mobile field sales app
March 27, 2018
When does direct store delivery makes sense for your business?
January 31, 2018
Taking Control of Your Customers’ Retail Execution
January 29, 2018
5 must-have features for your next sales order management software
January 2, 2018
Pepperi Mobile Sales Platform & Netsuite Chosen by Beauty Solutions
August 15, 2017
What to Look for in a Sales Route Planner App
August 3, 2017
Top Challenges for Beer & Wine Distributors: Addressing Key Issues
July 20, 2017
What Wholesale CRM Offers that Traditional CRM Doesn’t
July 6, 2017
10 critical features every wholesale ordering software and app must have
June 2, 2017
Quick Guide: Measuring Trade Show ROI
January 19, 2017
Independent vs In-House Sales Reps: Which is Best for Wholesale?
August 3, 2016
9 Critical Capabilities Sales Order Management Software Should Offer You
July 27, 2016
TIP OF THE WEEK: Enforcing Minimum Orders & Discount Eligibility
July 11, 2016
Pepperi Retail Execution Monitoring: Insights from Gartner’s Map
June 2, 2016
7 BI Essentials to Skyrocket Your Sales: Recording Now Available!
May 10, 2016
What Is B2B eCommerce for Manufacturers & Wholesalers?
December 16, 2014
What is Wholesale Distribution?
November 17, 2014
How To Become a Sales Rep in Wholesale
Pepperi Reviews
Pepperi Reviews
© Pepperi
Terms & Conditions
Privacy Policy
Cookie Policy
We use cookies to ensure that we give you the best experience on our website. If you continue to use this site, we will assume that you are happy with it.
Approve
Privacy Policy